I'm feeling a little bit like
Sarah Winchester building a mystery house like hers in California. The basement stairs leading to the main floor in the manor have no opening in the ceiling to accommodate the uppings and downings of the staff. I thought about this and decided just to go with it. In my mind's eye the stairs lead up under the main staircase and come out in the dining room. The servants need to be able to carry the food upstairs into the dining room when serving dinner to important guests.
So with that settled, I'm going to put in a false door in the dining room to complete my illusion (or should that be
delusion?!).
It took a lot of finagling to get the stair posts and rail right. The kit I purchased was missing two treads, so I had to cut them from 1/8 craft wood. Not something I particularly like doing. When all is said and done, the staircase looks pretty good and now it's just a matter of adding the bottom newel post and staining it. I think I'm going to put the cook's desk area under the staircase . . .
I ordered a different door leading into the butler's pantry . . . I just didn't like how it felt closed off from the kitchen.
I also worked on the kitchen floor and finished it today. I decided to put it in straight rather than on the diagonal for a couple of reasons. 1. Brian said it looked better (I do listen to his opinion once in a while) and 2. I would have had to cut several pieces to cover the whole floor. Sometimes less is more!
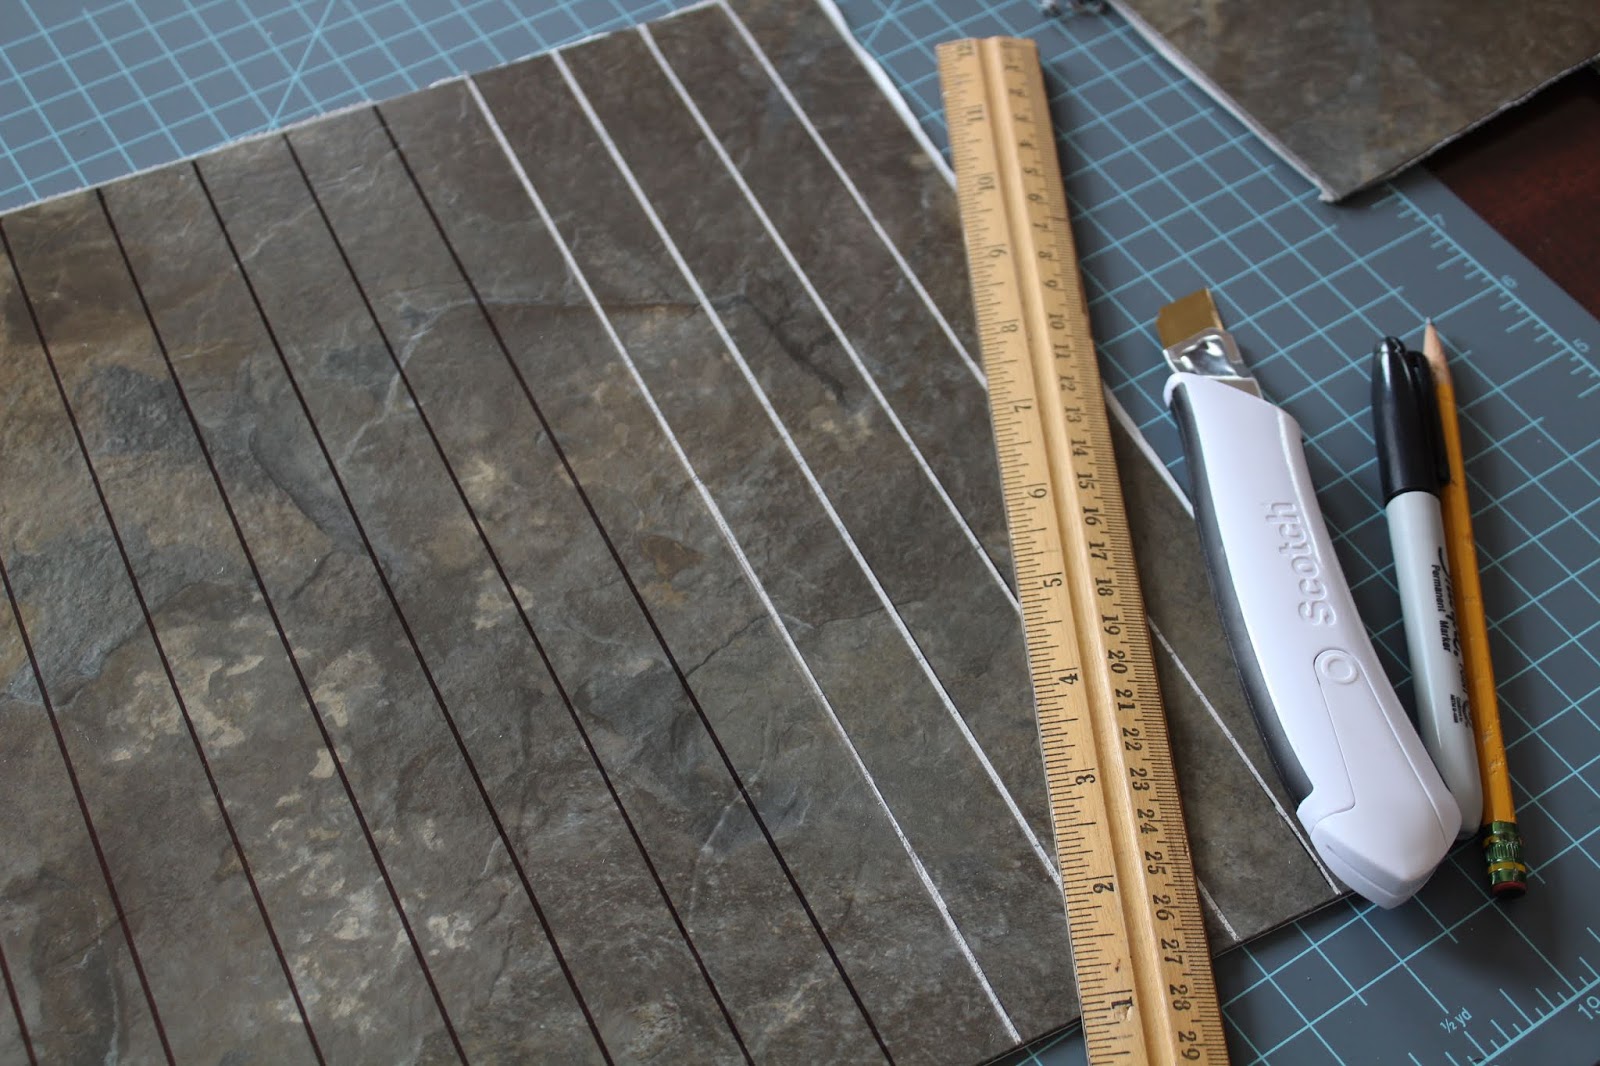
I also purchased more vinyl tile for the sewing room and wine cellar. After several attempts at measuring, cutting, measuring cutting . . . I finally got it right. I need a gray craft pen to cover the white edges of the tile so you don't see them when it's installed.
And the wine cellar got a marble like vinyl tile. I just had to cut two pieces to size. No grout lines in here . . .
thank the stars!
All that's left for flooring in the basement is the butler's pantry. I'm hoping to get that done tonight although my fingers are saying differently . . .